Retrocomputing Pages: Raspberry Pi
If you can get hold of one in these difficult times (2022 at time of writing), the Raspberry Pi is a great little machine with which to tinker. I have a Raspberry Pi Zero W, but most of what follows should be fine on other versions.
HP45TERM
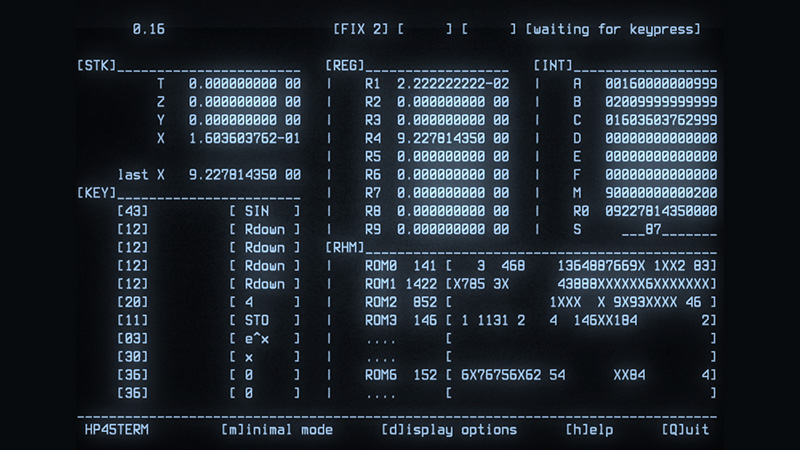
HP45TERM is a simulator for the HP-45 calculator. Since it was a large project, and since the resulting executables are multi-platform, it has its own page, here.

Using a Raspberry Pi as a Z80-MBC2 (Wireless) Terminal
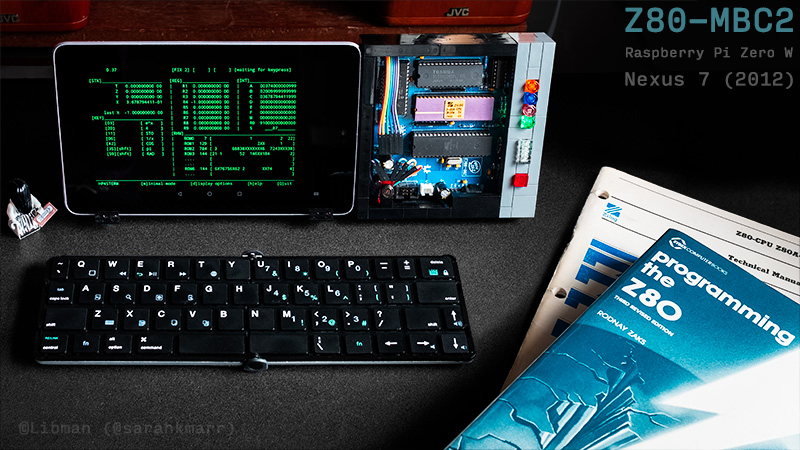
(Details of the Z80-MBC2 can be found here.) You can set up a Raspberry Pi as a terminal for your Z80-MBC2. It works directly with a monitor and keyboard, but also over wifi, so you can use your Z80-MBC2 on computers and other devices connected to the same network. (The setup shown here uses an old tablet and a bluetooth keyboard, connected via wifi to the Pi.) Here are the broad steps you need to follow.

Set up the Pi.
I use DietPi with no desktop. It has a great configuration tool which means the command line won't be daunting. My Pi is connected to a keyboard and monitor, so I just installed DietPi on the microSD card and booted. If you want to run 'headless' then you can edit the image on the card to add wifi details and ssh into the Pi to set it up: Google is your friend for finding details. (If you're not using DietPi then you may have to jump through a few extra hoops to get SSH running by default.) I gave the Pi a fixed IP address on my network rather than using DHCP, so I could always 'find it' easily.

Tweak a couple of things.
DietPi uses Dropbear, a lightweight ssh implementation. Dropbear doesn't provide scp, though, which makes it harder to get files onto the Pi (and then onto the Z80-MBC2 via xmodem). You don't have to change ssh implementations, though: just install scp by running 'apt install openssh-client'.
If you want to use vim as a text editor (say for the .bashrc change below) you'll need to 'apt install vim'.
Connect to the Z80-MBC2.
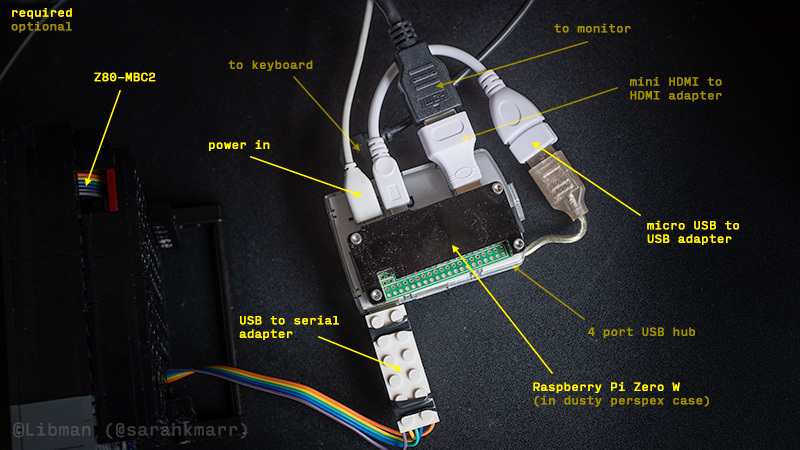
If you haven't already, connect the serial-to-USB adapter of your Z80-MBC2 to the USB data port of the Pi. You should see it spring to life. To talk to the Z80-MBC2 we're going to use minicom, so install it using 'apt install minicom'. Then run 'minicom -s' & change the serial device to the serial-to-USB adapter (Serial port setup -> option A). On my machine this is /dev/ttyUSB0. Check that option E is '115200 8N1'. Then save setup as dfl. At this point you should be able to run minicom and see the familiar boot text of the Z80-MBC2.
Make sure xmodem is supported.
You'll need the Linux 'sx' executable in order to xmodem things on and off the Z80-MBC2. Install it using 'apt install lrzsz'.
Add a user dedicated to the Z80-MBC2.
So far we've done everything as root. Create a new user using 'adduser z80mbc2'. (You can call the user whatever you want, but z80mbc2 seemed to make sense to me.)
Fix permissions.
By default the new user can't access /dev/ttyUSB0 so to fix that, still as root, run 'usermod -a -G dialout z80mbc2'.
Test out the new user and autorun minicom.
You should now be able to log on as z80mbc2. If you want to do that over ssh then just 'ssh z80mbc2@ipaddress' (replacing ipaddress with 192.168.0.123 or wherever you've located your Pi). Once at the prompt try running minicom to make sure everything's all right. Assuming it is, edit ~/.bashrc and add the following line at the end:
minicom -R utf-8 -F " Z80-MBC2 | %T | %C | Minicom %V on %D at %b"
Now, when you log in as z80mbc2, minicom will start automatically and you'll be connected to the Z80-MBC2.

This setup works for me, partly because I'm used to minicom. Plus, it gives me a workflow using scp and xmodem to get files on and off the Z80-MBC2. If you'd like a different solution, which uses ser2net to provide a 'direct' login to the Z80-MBC2, you can find it here.
Create a standalone terminal with an old tablet.
If you'd like a 'mini' terminal experience, you can use a tablet to ssh into the Pi (and thus straight into the Z80-MBC2 via minicom) over wifi, with a bluetooth keyboard (connected to the tablet, not the Pi). For this setup you don't need the Pi keyboard, USB hub, or HDMI adapter. I use a 2012 Nexus 7 tablet, with Android 7.1 courtesy of LineageOS 14.1. There are various ssh apps, the one shown is ConnectBot. External Keyboard Helper Pro is also useful, as it can map an 'escape' key, etc. to an Android keyboard.As a bonus, if you have an external battery for the Pi, the whole thing is portable. (And Lego makes a great case for the Z80-MBC2 and integrated stand for the tablet.)
